

Step:1 Install dependent packages for VMware Workstation
Open the terminal and type following apt command.linuxtechi@cloud:~$ sudo apt install gcc build-essential -y
Step:2 Download VMware Workstation 12 from its Official Site
Access the following url from your web broswer to download trail version of Vmware Workstation 12 on your systemhttp://www.vmware.com/go/tryworkstation-linux-64
Step:3 Start VMware Workstation 12 installation from the terminal
Before starting the installation, let’s us set the executable permissions on the downloaded bundle file.linuxtechi@cloud:~/Downloads$ chmod +x Vmware-Workstation-Full-12.1.1-3770994.x86_64.bundleNow Start the VMware Workstation installer by executing the downloaded bundle file.
linuxtechi@cloud:~/Downloads$ sudo ./Vmware-Workstation-Full-12.1.1-3770994.x86_64.bundle

Accept the License agreement and click on Next..
Select Yes option if you want to check updates on startup otherwise select No
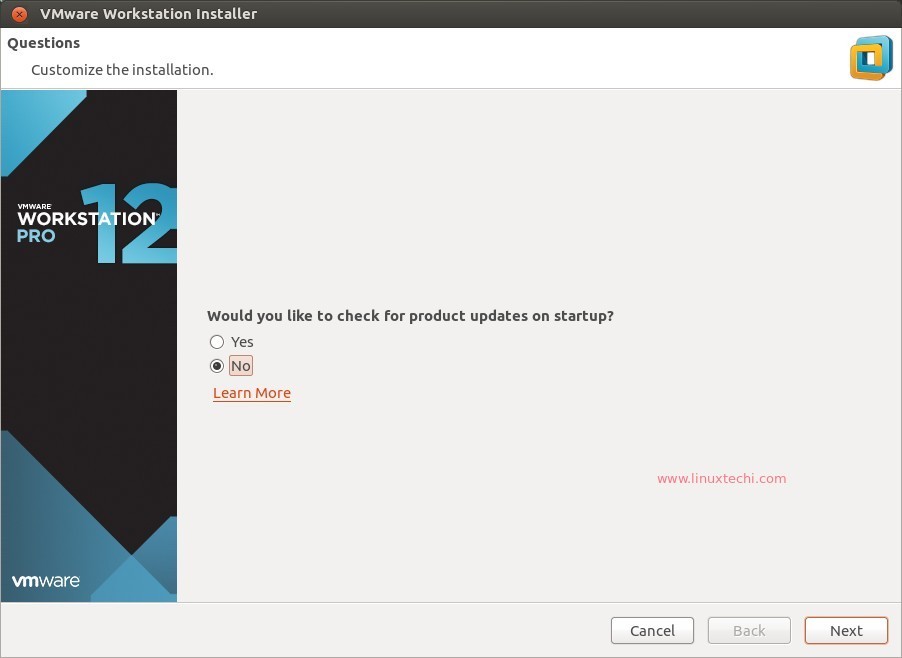
Click on Next to proceed further.
In this step select either Yes or No depending upon your choice.

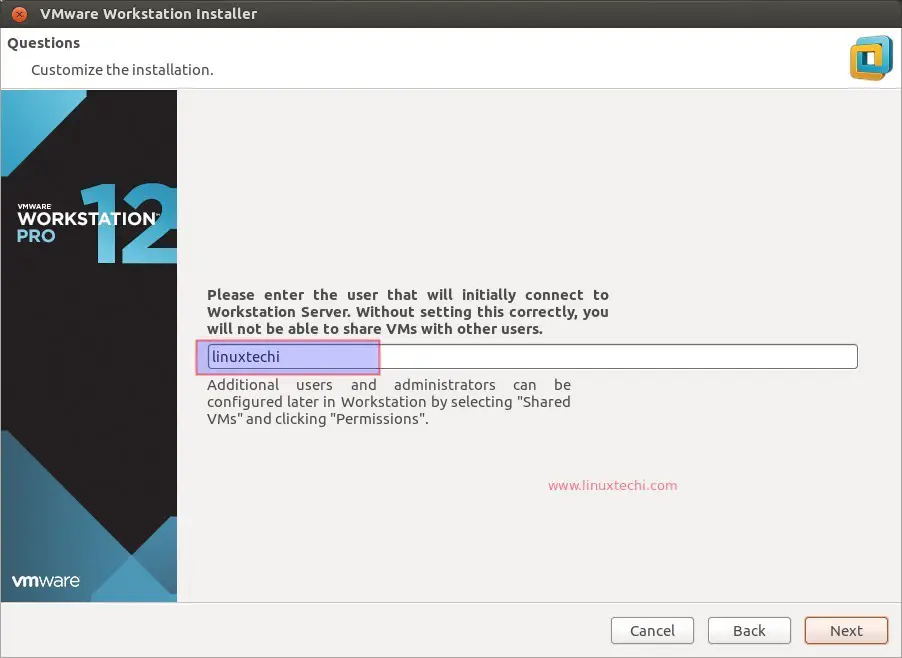
Enter the user name who will have the rights to connect VMware Workstation Server, In my case user name is “linuxtechi”
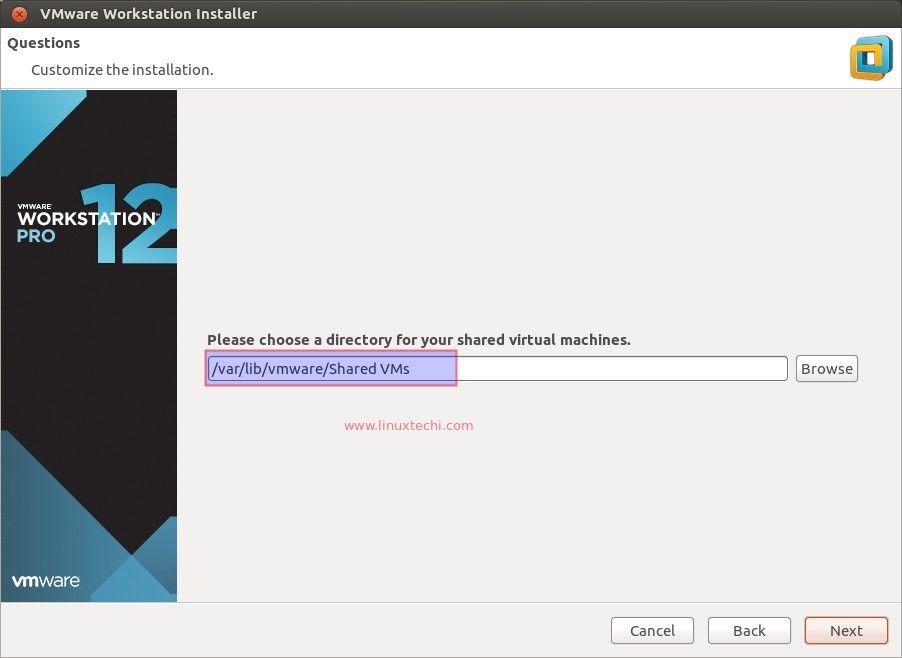
Specify the folder or directory on which Shared Virtual machine’s files will be stored. You can change its path as per your requirement. In my case i am keeping as it is.
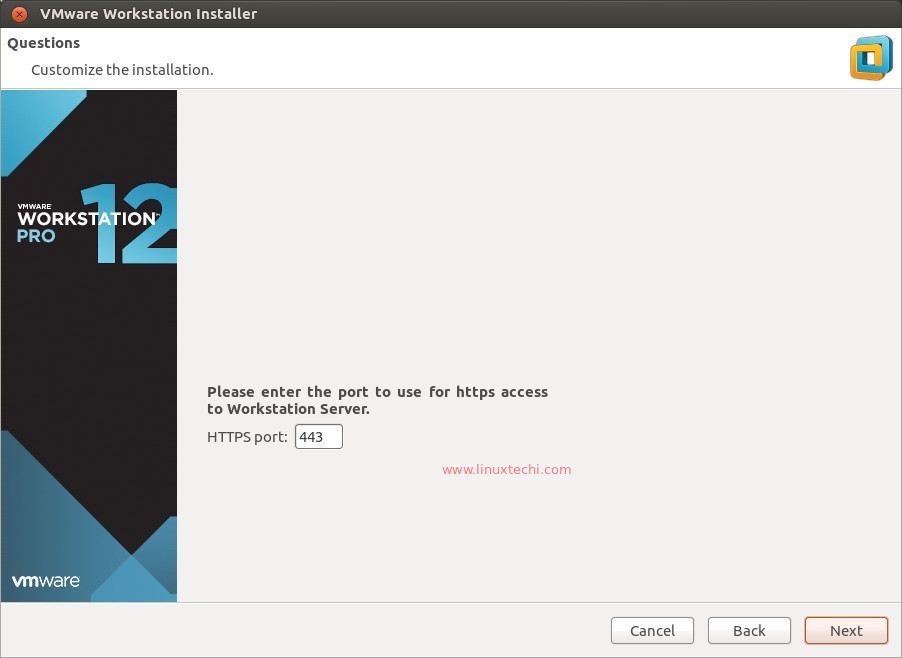
Https port for VMware Workstation Server
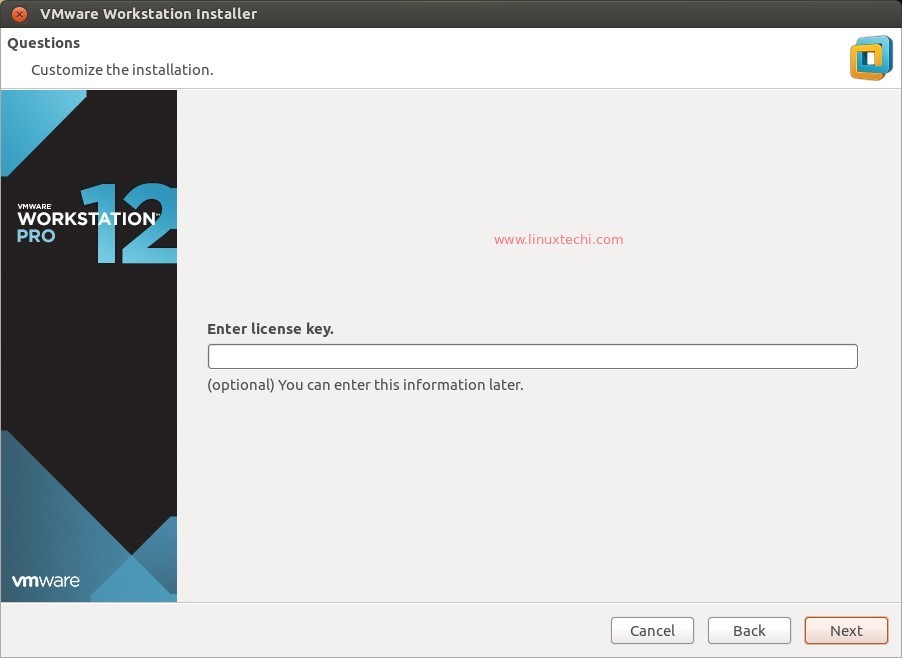
In Case you have the license Key of VMware Workstation12 enter it here otherwise leave it blank for trail version.
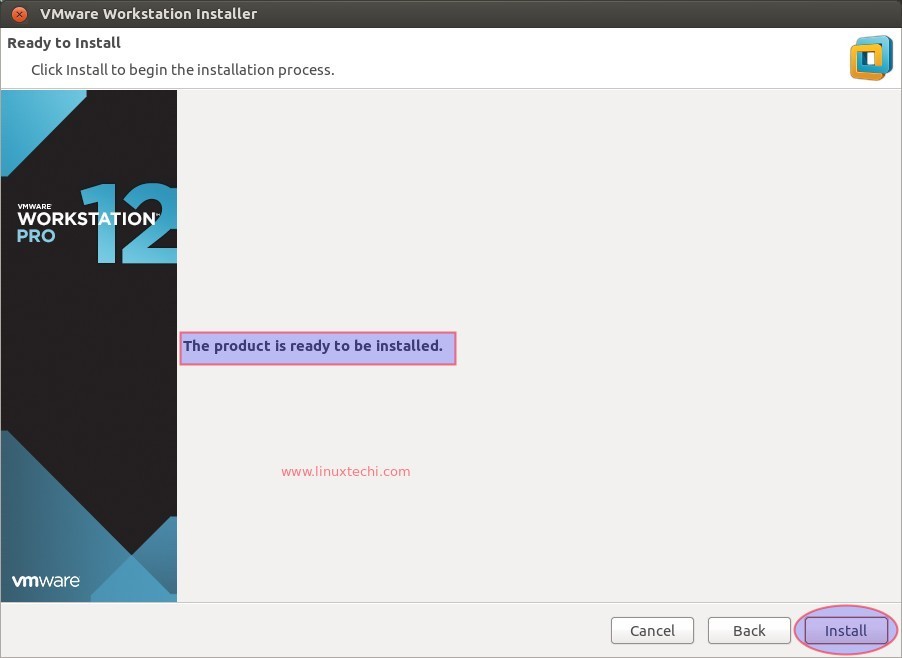
Click on Install as VMware Workstation 12 setup is ready.
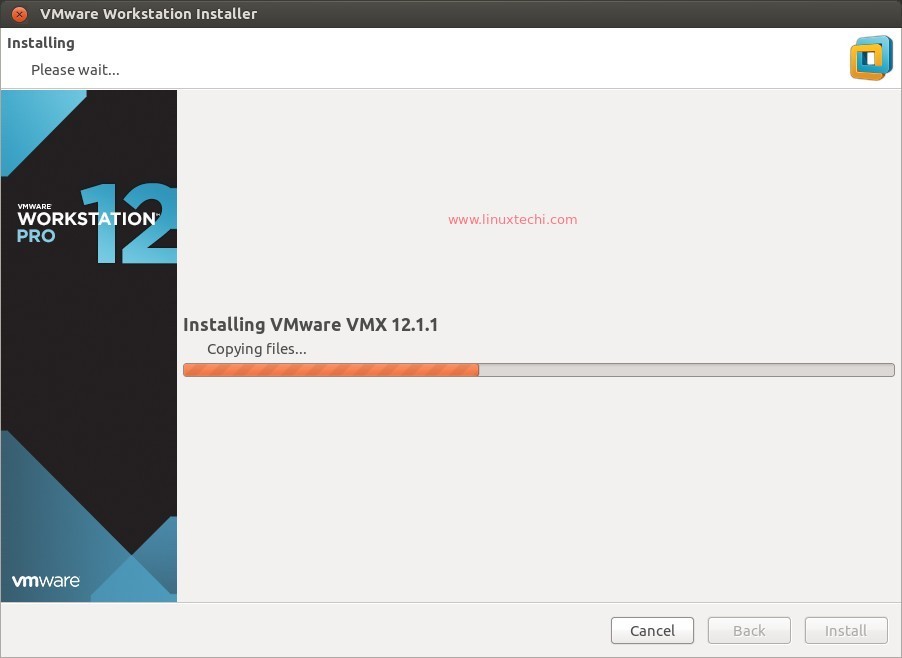
In this step we can see that VMware workstation 12 installation has started and is in progress.
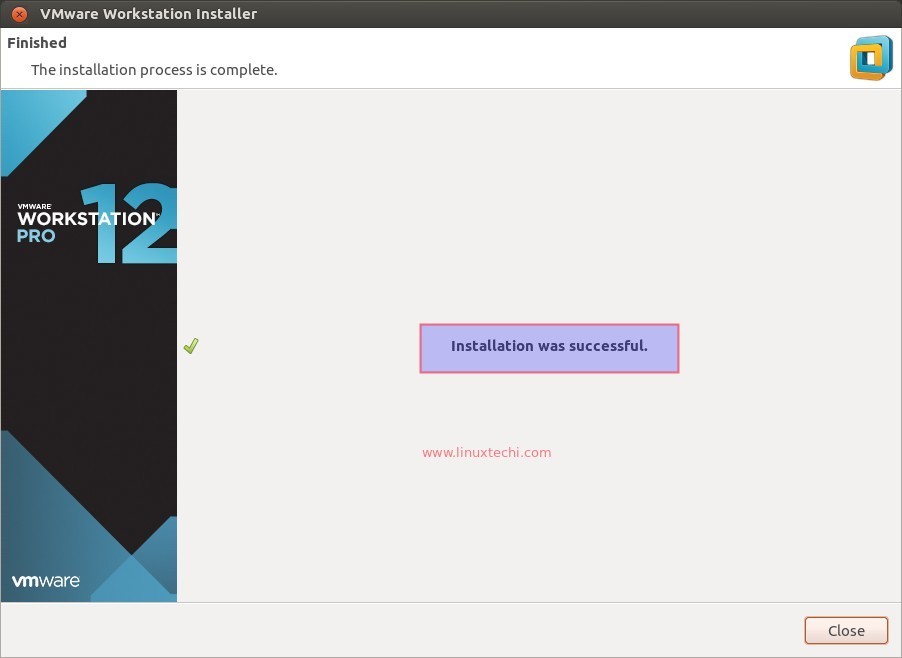
Installation Completed Successfully.
Tidak ada komentar:
Posting Komentar