

Step 1 – Enable PostgreSQL Apt Repository
PostgreSQL packages are also available in default Ubuntu repository, But when I try to install PostgreSQL on Ubuntu 12.04 I only found PostgreSQL 9.1 was in default apt repository. So I request you to add PostgreSQL apt repository first in your system suggested on official PostgreSQL website using following command.Firstly, Import the GPG key for PostgreSQL packages.
$ wget -q https://www.postgresql.org/media/keys/ACCC4CF8.asc -O - | sudo apt-key add -Now add the repository to your system.
$ sudo sh -c 'echo "deb http://apt.postgresql.org/pub/repos/apt/ `lsb_release -cs`-pgdg main" >> /etc/apt/sources.list.d/pgdg.list'
Step 2 – Install PostgreSQL Database Server
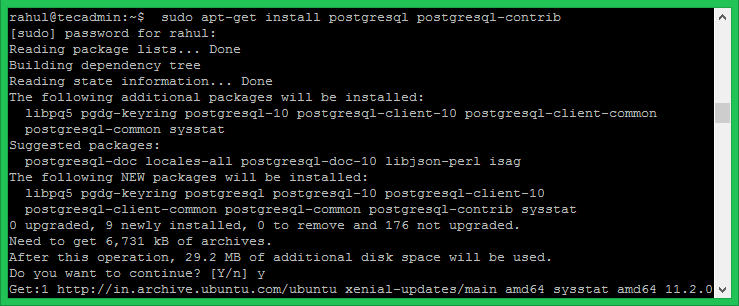
Now as we have added PostgreSQL official repository in our system, First we need to update repository list. After that install Latest PostgreSQL Server in our Ubuntu system using following commands.$ sudo apt-get update $ sudo apt-get install postgresql postgresql-contrib
Step 3 – Connect to PostgreSQL
After installing PostgreSQL database server, by default,, it creates a user ‘postgres’ with role ‘postgres’. It also creates a system account with same name ‘postgres’. So to connect to postgres server, log in to your system as user postgres and connect database.$ sudo su - postgres $ psqlNow you are logged in to PostgreSQL database server. To check login info use following command from database command prompt.
postgres-# \conninfoTo disconnect from PostgreSQL database command prompt just type below command and press enter. It will return you back to Ubuntu command prompt.
postgres-# \qYour PostgreSQL installation has been completed successfully. Let’s move to phpPgAdmin installation of Ubuntu systems.
Tidak ada komentar:
Posting Komentar